The persistent pain from remote work isn’t a sign you need a more expensive chair; it’s a symptom of a fundamental biomechanical mismatch between your body and your workspace.
- Most pain originates from a “postural cascade” where one poor adjustment (like sitting on a dining chair) forces your entire body out of its natural alignment.
- Achieving a pain-free setup involves personalizing your equipment to support your body’s neutral anatomical positions, not just following generic “eye-level” rules.
Recommendation: Instead of buying all new equipment, start by analyzing your current setup to identify the primary source of biomechanical stress and make targeted, small adjustments for the biggest impact.
The dull ache in your lower back that surfaces by mid-morning, the nagging tension in your neck by day’s end—these sensations have become an unwelcome part of the remote work uniform for many. You’ve likely heard the standard advice: “get an ergonomic chair,” “take more breaks,” or “stretch.” While well-intentioned, this advice often misses the root cause of the problem. For many professionals experiencing discomfort, the issue isn’t a lack of effort but a lack of understanding of the fundamental principles of occupational biomechanics. In fact, studies show that for over 90% of remote workers, pain has increased since switching to a home office.
The core problem is a biomechanical mismatch. Your body is a unique and dynamic system, while your desk and chair are static objects. When these two are not in harmony, your muscles, joints, and spine are forced to compensate, leading to a predictable “postural cascade” of strain and injury. This isn’t just about discomfort; it’s about the long-term health of your musculoskeletal system. An improperly arranged workspace can lead to chronic conditions like lumbar disc pressure, cervicalgia (neck pain), and repetitive strain injuries.
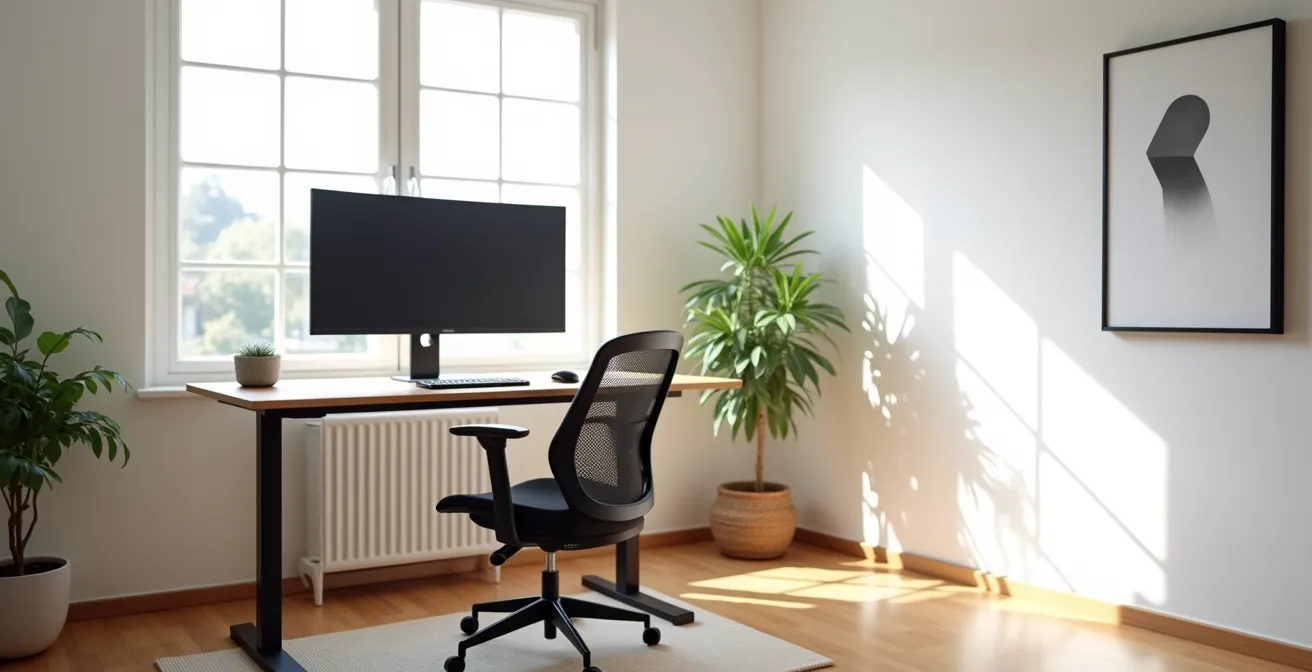
But what if the solution wasn’t just about buying better equipment, but about understanding the *why* behind ergonomic principles? This guide moves beyond generic checklists. As an occupational therapist, my goal is to empower you with the anatomical knowledge to diagnose your own workspace. We will dissect the common mistakes, explore the science behind proper alignment, and provide actionable strategies to transform your home office from a source of pain into a foundation for health and productivity. We will analyze everything from chair height to the color of your lighting, all through the lens of human anatomy and function.
This guide will deconstruct the essential components of an ergonomic home office, giving you the knowledge to make informed, personalized adjustments. Explore the sections below to build a workspace that works for your body, not against it.
Summary: A Biomechanical Approach to Your Home Office
- Why Non-Ergonomic Dining Chairs Cause Lower Back Pain After 2 Hours?
- How to Adjust Your Office Chair Height for Your Specific Body Type?
- Kneeling Chair vs Ball Chair: Which Actually Improves Core Strength?
- The Screen Height Mistake That Leads to ‘Tech Neck’
- How to Retrofit a Standard Desk into a Standing Station Cheaply?
- Why Blue Tones Improve Focus for Analytical Tasks?
- Circadian Rhythm Lighting: Can Automation Really Improve Sleep?
- How to Implement Hidden Storage Solutions in Minimalist Interiors Without Renovation?
Why Non-Ergonomic Dining Chairs Cause Lower Back Pain After 2 Hours?
The dining chair is the primary culprit behind the epidemic of remote work-related back pain. While suitable for a 30-minute meal, its design is fundamentally at odds with the needs of the human body during prolonged sitting. The problem begins with the seat pan and backrest. Most dining chairs are rigid, flat, and lack any form of lumbar support. When you sit on one for an extended period, this lack of support initiates a destructive postural cascade.
Without a curve to support the lower back, your pelvis tends to rotate backward. This single movement flattens the natural inward curve of your lower spine, a position known as the lumbar lordosis. A flat lumbar spine dramatically increases the pressure on your intervertebral discs. Simultaneously, this pelvic tilt forces your body weight to concentrate on your ischial tuberosities (the “sit bones”) rather than being distributed across the thighs, leading to localized pain and reduced circulation.
To compensate for this unstable base, your upper body slumps forward, rounding your shoulders and pushing your head ahead of your spine. Your back muscles, now working overtime to hold this unnatural C-shape posture, experience static muscle loading. This constant, low-level tension restricts blood flow, leading to the buildup of metabolic waste products, which you perceive as a deep, burning ache after just an hour or two. The dining chair, in essence, systematically dismantles your body’s natural, shock-absorbing spinal curves.
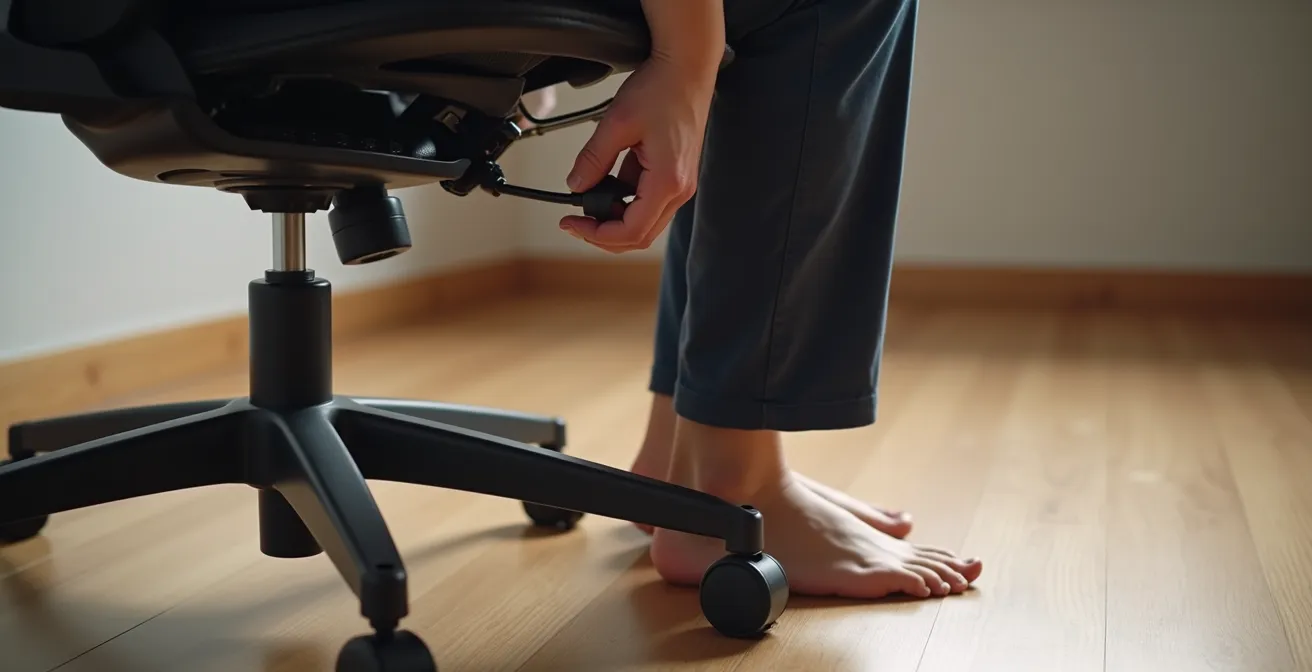
How to Adjust Your Office Chair Height for Your Specific Body Type?
Proper office chair adjustment is not a one-size-fits-all process; it’s a personalized dialogue between your body and the chair’s mechanics. The goal is to achieve an “anatomical neutral” position where your joints are aligned and your muscles are at their most relaxed. The conventional wisdom of a strict 90-degree angle at the hips, knees, and ankles is an oversimplification. In fact, it can create unnecessary pressure on the spine.
Research from Cornell University’s ergonomics department provides a more nuanced approach. Their studies reveal a key insight: adopting a slightly reclined posture is significantly better for your spine. As their work on ergonomic guidelines highlights, this subtle shift makes a major difference.
Case Study: Cornell University’s Reclined Posture Principle
Cornell’s ergonomics research shows that an ideal seated posture involves a 100-110 degree reclined angle of the torso relative to the thighs, rather than a 90-degree upright position. This angle, when combined with proper lumbar support, significantly decreases postural muscle activity and intervertebral disc pressure. It allows the backrest to take on more of the upper body’s weight, relieving the spinal muscles from constant strain.
This principle of a supported recline should guide your adjustments. However, your specific body proportions—the ratio of your torso length to your leg length—will dictate the final settings. Individuals are not built the same, and your chair must be adjusted to accommodate your unique anatomy.
The table below outlines starting points for different body types to achieve this balanced, neutral posture. Use it as a guide to fine-tune your setup, always prioritizing spinal comfort over rigid angles.
| Body Type | Chair Height Setting | Additional Adjustments Needed |
|---|---|---|
| Long torso, short legs | Lower seat height | Raise desk height or use keyboard tray |
| Short torso, long legs | Higher seat height | Add footrest to support feet |
| Average proportions | Thighs parallel to floor | Ensure 2-3 finger space behind knees |
| Tall individuals (6’+) | Maximum chair height | Consider desk riser for proper elbow angle |
Kneeling Chair vs Ball Chair: Which Actually Improves Core Strength?
In the quest to escape the static nature of traditional seating, many have turned to alternative options like kneeling chairs and stability balls. The marketing promises improved core strength and better posture, but from a biomechanical perspective, the reality is more complex. Neither is a silver bullet, but both can be useful tools when understood as part of a strategy of dynamic seating—the principle that your next posture is always your best posture.
A kneeling chair positions your body with an open hip angle (typically around 110 degrees), which helps maintain your natural lumbar curve. By tilting the pelvis forward, it encourages an upright spine. However, it transfers a significant portion of your body weight to your shins, which can become uncomfortable over time and potentially restrict circulation behind the knees. While it can be a good tool for short periods, it doesn’t actively engage the core; it simply facilitates a better static posture.
A stability ball chair, conversely, forces active engagement. The unstable surface requires your deep abdominal and back muscles (your core) to make constant micro-adjustments to maintain balance. This can indeed improve proprioception and core endurance. The downside is muscular fatigue. Without a backrest, your postural muscles are always “on,” and as they tire, you are more likely to slump into a poor, unsupported posture than you would in a traditional chair. For this reason, it is best used in 20-30 minute intervals. As a leading expert points out, the goal is movement and variety, not a single perfect solution.
Alternating between sitting and standing throughout the workday has been shown to have significant health benefits. Standing all day is just as unhealthy as sitting all day.
– Dr. Alan Hedge, Professor Emeritus at Cornell University
Ultimately, neither chair is inherently superior for “improving” core strength in the way a dedicated exercise would. The ball chair *uses* core strength, while the kneeling chair *promotes* a better passive posture. The most effective strategy is to alternate between different seating options, including a traditional, well-adjusted ergonomic chair and periods of standing. This variety prevents static loading and keeps your body dynamically engaged.
The Screen Height Mistake That Leads to ‘Tech Neck’
“Tech neck,” known clinically as anterior head carriage or cervicalgia, is a repetitive strain injury caused by a single, pervasive ergonomic mistake: incorrect screen height. When your monitor is too low, you instinctively drop your head forward and down to see it. This seemingly minor adjustment has a massive impact on your cervical spine. The human head weighs approximately 10-12 pounds. For every inch your head moves forward from its neutral position, the effective weight on your cervical spine nearly doubles. A head held just two inches forward can place up to 32 pounds of force on your neck muscles and vertebrae.
This chronic forward-flexion overstretches the posterior neck muscles and ligaments while shortening the anterior ones, creating a painful muscular imbalance. It leads to headaches, nerve impingement, and even long-term degenerative changes in the cervical spine. The common advice to place the screen at “eye level” is a good start, but it’s incomplete. The top of the monitor should be at or slightly below eye level, and your gaze should fall naturally on the top third of the screen with a slight downward angle of about 15-20 degrees. This keeps your neck in its neutral, least-strained position.
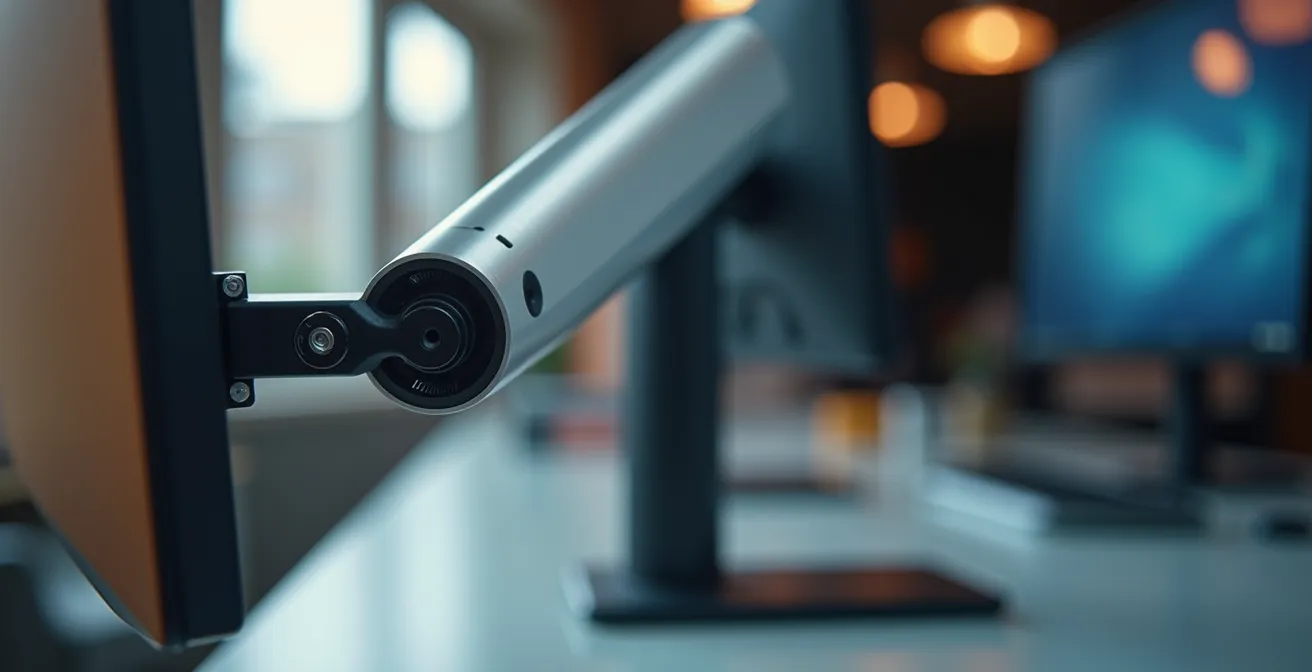
Case Study: Mayo Clinic’s Monitor Arm Implementation
To combat this widespread issue, the Mayo Clinic implemented adjustable monitor arms across its workstations. This simple intervention allowed employees to easily and precisely control both the height and distance of their screens. By enabling a personalized setup that catered to individual body sizes and visual needs, the organization saw a marked reduction in reported neck pain and associated symptoms.
Laptops are particularly problematic as their attached screen and keyboard create an ergonomic trap, forcing you to choose between proper neck posture and proper wrist posture. The only viable solution is to treat the laptop as a CPU: place it on a stand to elevate the screen and use an external keyboard and mouse. Following a clear set of steps is the most effective way to prevent this common ailment.
Your Action Plan: Preventing ‘Tech Neck’
- Position the top of your screen at or slightly below eye level to maintain a neutral neck position.
- Place your monitor at arm’s length, ensuring a viewing distance of approximately 20-26 inches from your face.
- Adjust the screen angle to match your natural 15-20 degree downward gaze, minimizing neck flexion.
- Use a laptop stand with an external keyboard and mouse to separate screen height from hand position.
- If using dual monitors, position your primary screen directly in front of you and the secondary screen at a 30-degree angle to one side.
How to Retrofit a Standard Desk into a Standing Station Cheaply?
The transition to a sit-stand workstation doesn’t have to involve purchasing an expensive, fully adjustable desk. The core issue with most fixed-height desks is that they are built for an “average” person who doesn’t exist. The standard desk height of around 29.5 inches is often too high for many users when seated, forcing them to shrug their shoulders to reach the keyboard, and too low for effective standing. The solution is ergonomic retrofitting: using simple, inexpensive items to adapt your existing desk.
The goal of a standing setup is to have your elbows at a roughly 90-degree angle with your wrists straight when typing. For most people, this means raising the keyboard and monitor significantly. This can be achieved with a variety of DIY solutions. The key is to find a combination of items that is both stable and brings your peripherals to the correct height for *your* body. Don’t forget an anti-fatigue mat; standing on a hard surface for long periods can cause leg, foot, and back pain, defeating the purpose of the change.
A common mistake is simply placing a laptop on a stack of books. This raises the screen but forces you to type with your arms elevated, creating significant shoulder and neck strain. The principle of separating the screen from the keyboard is just as critical when standing as it is when sitting. Use one set of risers for your monitor or laptop (to get the screen to eye level) and a separate, lower platform for your external keyboard and mouse.
This comparative table, based on an analysis by Popular Science, shows that creating a functional standing station can be achieved with a minimal budget. The best solution often depends on the materials you may already have at home.
This table provides a practical starting point for retrofitting your desk. As a comparative analysis from Popular Science shows, effective solutions need not be expensive.
| Solution | Cost Range | Stability Rating | Aesthetic Appeal |
|---|---|---|---|
| Sturdy Storage Boxes | $15-30 | Good | Moderate |
| Adjustable Shelf Units | $25-50 | Excellent | Good |
| IKEA LACK Side Tables | $10-20 | Good | Excellent |
| Anti-Fatigue Mat Only | $30-60 | N/A | Minimal Visual Impact |
Why Blue Tones Improve Focus for Analytical Tasks?
Ergonomics extends beyond physical posture into the cognitive realm. Your environment’s sensory inputs, particularly color and light, have a measurable effect on your brain’s performance. The color blue, specifically in the cooler end of the spectrum (blue-white), has been shown to enhance focus, alertness, and performance on analytical tasks. This is rooted in the way our eyes and brain process different wavelengths of light.
Specialized photosensitive cells in our retinas, called ipRGCs, are particularly sensitive to blue light. When these cells detect blue wavelengths, they send signals directly to the brain’s “master clock” (the suprachiasmatic nucleus), which regulates our sleep-wake cycle. This signal effectively tells the brain it’s daytime, suppressing the production of the sleep hormone melatonin and boosting alertness. This is why looking at a blue-rich screen late at night can disrupt sleep, but it’s also why leveraging blue tones during the workday can be a powerful productivity tool.
Case Study: Google’s Color-Coded Workspaces
Tech giant Google actively incorporates color psychology into its office designs. Work areas designated for focused, analytical work, such as coding or data analysis, often feature cooler palettes with prominent blue tones in the lighting and decor. This is a deliberate environmental design choice intended to promote a state of high alertness and sustained concentration among employees.
You can strategically implement this principle in your home office without painting your walls. The key is to introduce blue light into your primary visual field during periods of deep work. This can be done by setting smart bulbs to a cool, blue-white temperature (around 5000K-6500K) for your morning work sessions, using a blue-toned desktop wallpaper, or even placing a blue desk mat on your workspace. The goal is to create an environment that signals “focus” to your brain on a subconscious, physiological level.
Circadian Rhythm Lighting: Can Automation Really Improve Sleep?
Your body’s internal 24-hour clock, the circadian rhythm, governs nearly every physiological process, from hormone release and digestion to alertness and sleep. One of the most powerful external cues that synchronizes this clock is light. The problem for the modern remote worker is that we are exposed to the wrong light at the wrong time. With the average person racking up significant daily screen time, this constant exposure to static, often blue-rich light throughout the day and into the evening can desynchronize our internal rhythms.
Lousy office lighting for remote workers can cause headaches, eye strain, and fatigue, while good lighting can boost your mood and focus.
– We Work Remotely Editorial Team, We Work Remotely Ergonomics Guide
This is where automated circadian rhythm lighting can be transformative. This technology uses smart bulbs and software to mimic the natural progression of sunlight throughout the day. The system automatically adjusts both the intensity and the color temperature of your office lighting. In the morning, it produces bright, cool, blue-toned light to promote alertness and suppress melatonin. As the afternoon progresses, the light gradually becomes warmer and dimmer, shifting to soft, amber tones (around 2700K-3000K) in the evening.
This gradual transition sends the correct temporal cues to your brain. The reduction of blue light in the hours before bed allows for the natural rise of melatonin, which is critical for initiating sleep. By automating this process, you remove the guesswork and ensure your body is receiving the right light signals to regulate your sleep-wake cycle effectively. Studies have shown that aligning indoor lighting with circadian rhythms can not only improve sleep quality and duration but also enhance daytime alertness, mood, and cognitive performance. It’s a passive but powerful ergonomic intervention for your overall well-being, directly addressing the impact of our digitally-saturated work lives, where many people average over 6 hours of screen time daily.
Key Takeaways
- Prioritize Biomechanics Over Aesthetics: The primary goal of ergonomics is to align your workspace with your body’s neutral postures, not to follow a specific design trend.
- Personalization is Non-Negotiable: A chair or desk that is perfect for one person can be harmful to another. Always adjust equipment to your specific body proportions.
- Your Next Posture is Your Best Posture: Avoid static positions. The healthiest workday incorporates movement and variety, alternating between sitting, standing, and different seating types.
How to Implement Hidden Storage Solutions in Minimalist Interiors Without Renovation?
A minimalist aesthetic in a home office is not just about visual appeal; it’s a form of cognitive ergonomics. A cluttered workspace creates constant, low-level visual distraction that competes for your attention and drains mental energy. For a remote worker, maintaining a clear desk is crucial for focus and for creating a psychological boundary between “work” and “home.” The challenge is achieving this clarity without built-in cabinetry or major renovations.
The solution lies in clever, multi-functional, and hidden storage. This means choosing items that serve more than one purpose or that utilize overlooked space. Think vertically and underneath. Under-desk cable management trays are non-negotiable for hiding the “visual spaghetti” of wires. A monitor stand with built-in drawers can elevate your screen to the correct height while simultaneously housing pens, notepads, and small items. For larger items, a mobile pedestal file cabinet that can be rolled under the desk or into a closet at the end of the day is an ideal solution.
Case Study: Eureka Ergonomic’s Dual-Function Storage
Eureka Ergonomic’s Mobile Height Adjustable CPU Cart exemplifies this principle. It serves as a dedicated spot for a computer tower and printer, freeing up valuable desk and floor space. More importantly, it consolidates cable management and keeps essential hardware accessible but out of the primary workspace, reducing visual clutter by as much as 40% on the desktop.
The most powerful tool, however, is a behavioral one: the end-of-day desk reset. This is a non-negotiable five-minute ritual to signal the end of the workday. By consistently clearing your desk, you are not just tidying up; you are performing a powerful psychological act that helps you transition out of “work mode.” A simple routine can make all the difference:
- Clear all papers into a designated document holder or an under-desk tray.
- Ensure all cables are routed through cable management systems.
- Store your keyboard and mouse in a pull-out tray or a designated spot.
- Place all personal items (mugs, phones) away from the desk surface.
- Wipe down the clear surface to create a “blank slate” for the next day.
This ritual reinforces the boundary between your professional and personal life, a critical component of long-term, sustainable remote work.
By understanding and applying these biomechanical and environmental principles, you can take control of your workspace. The next logical step is to perform a thorough audit of your own setup, using this knowledge to make targeted, effective changes. Start today to transform your home office into a space that supports your health and enhances your focus.